|
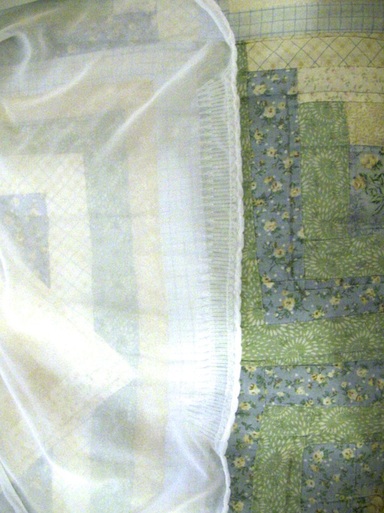
Now that the veil was all hemmed, it was time to move on to getting it to stay on Shelby's head! When Shelby first sent me the fabric and I was draping it on my head to kinda get a feel for how it was going to lay and flow, I quickly realized that I had a problem. Chiffon naturally, is a very light weight fabric, but when there are YARDS upon YARDS of it trailing behind you, it can get pretty heavy. So whenever I walked around the house (I may or may not have been singing "Here Comes the Bride" very loudly) the long train kept pulling the veil off my head! So I sat down and had a little talk with this fabric (yes, I really do talk to the materials I'm working with and it really does help. So deal with it) and told it that we couldn't have this kind of behavior. It was going to have to stay on Shelby's head throughout the whole ceremony. So I came up with a solution. Since the part on the veil that had the most drag on it (and the part that kept falling down) was the section that laid on top of my head, I figured it needed something to keep it in place. Smart cookie ain't I? So my wonderful Mommy found this long clear comb that you see below at Wal-Mart to attach to the top of the veil to help keep it in place... 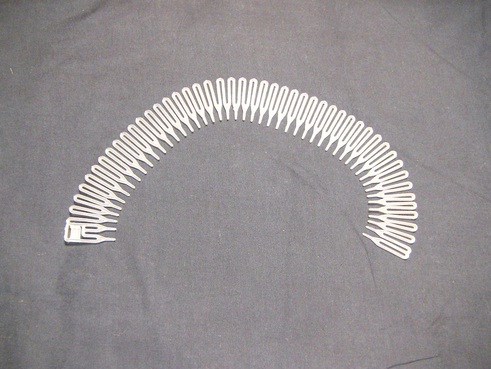

...along with some 1/4 inch wide organza ribbon (Hobby Lobby). To start off, I took Shelby's head measurement (from ear to ear over the top of her head) and cut a piece of ribbon that size tapering the ends a bit. Then I added some no-fray to the ends. (me like no-fray) 
I did all the below steps to a practice piece of fabric the same length of the chiffon Shelby sent me. (just in case I messed up) So all of the pictures are of the veil itself, not the practice one (because I forgot to take pictures of the practice piece :). So after I measured and cut the ribbon, I hand sewed the long comb to the piece of ribbon. 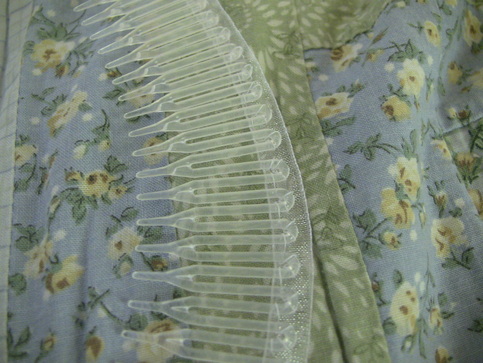
I took the top part of the veil and folded it in half and put a pin in the center. Next I measured the comb's length and marked the center of it. Then I matched the two up placing the comb underneath the fabric right next to the hem with the ribbon side against the wrong side of the fabric (the side that would go against her head). 
Since I couldn't really pin the comb in place because of all the teeth, I held it in place with my hand and whipped stitched around the edges of the ribbon. I tried to keep my stitches close enough to hold everything securely, but far enough apart that the stitches weren't that noticeable. Make sense? 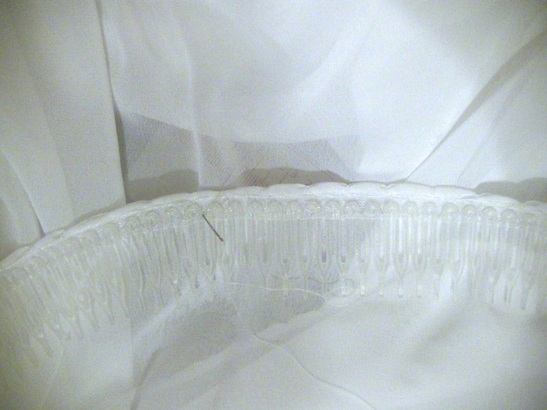
My idea worked! the comb kept the veil in place as I walked around the house and (just as an extra precaution) danced down the imaginary isle (aka the living room). 
Yeah...
the jif movie thing wasn't my idea. But anyway... *NOTE* If you prefer to cover the top part just over where the comb is sewed with ribbon (like Kate's) to try to cover your previous stitching do so now. So there you have it! Next up, creating the gathers and poof in the back. Love, Susan
0 Comments
Leave a Reply. |
CategoriesAll Alterations Book Reviews Books Conversations With God Costumes Doctor Who? Family For The Sake Of All Things Random Friends Fun Gifts Giveaway Guest Post Holidays It's A GOD Thing Lesson Learned Literal Movie Making Non Sewing Related Projects Q&A Sewing Special Requests Theater Tutorial Wedding Yep That's Me AuthorHey Y'all! Archives
October 2019
Book Review
|
 RSS Feed
