|
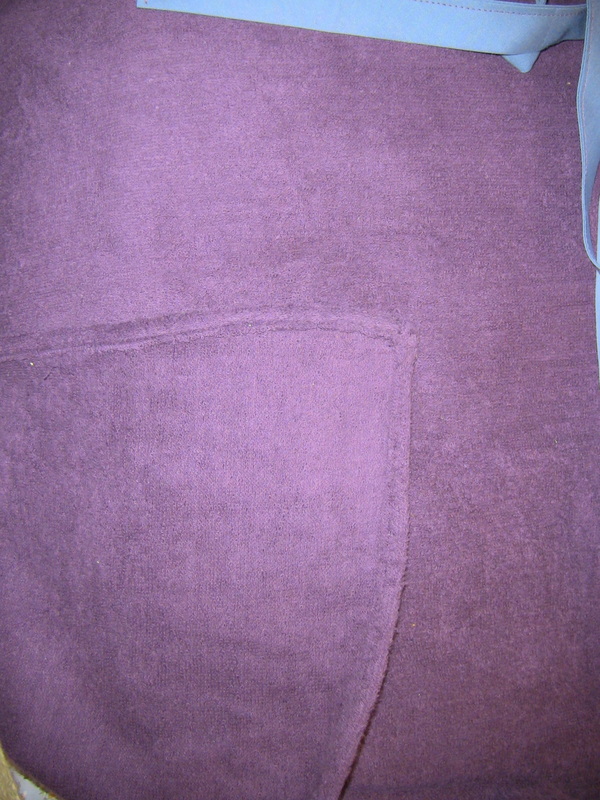
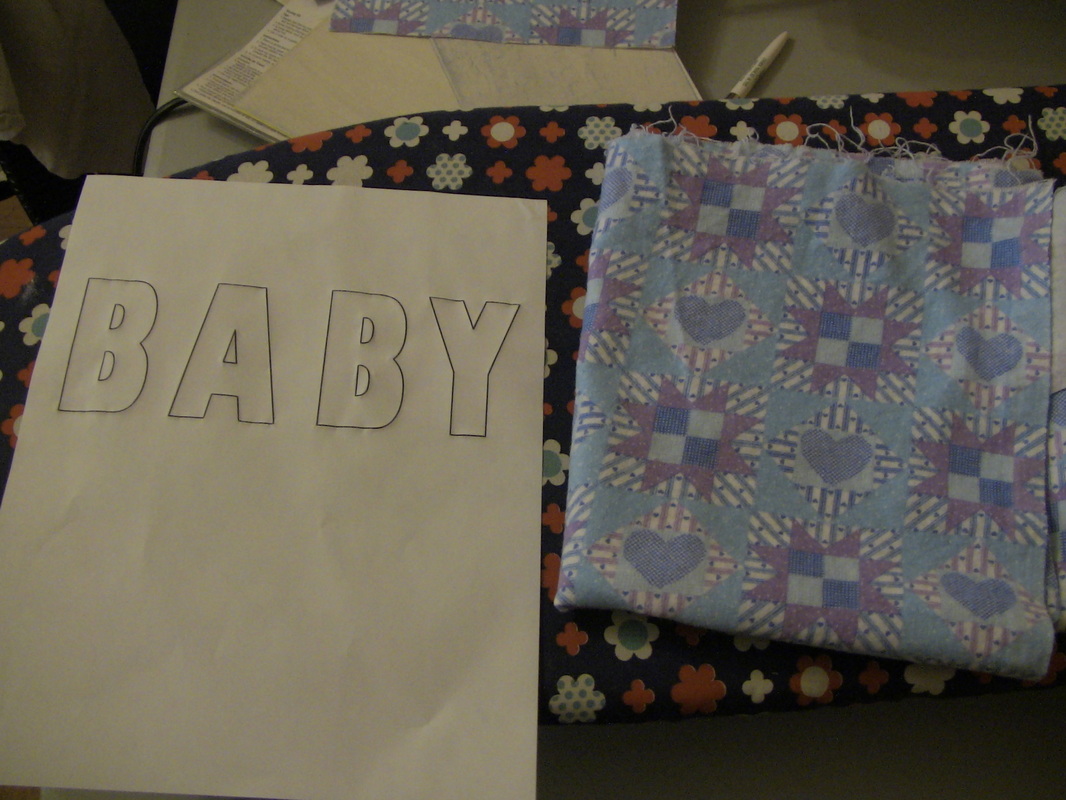
9/24/2013 0 Comments Baby Bath ApronA lady at a bible study I go to on Saturday mornings is pregnant with her third child. So, the other women of the bible study group decided to give her a baby shower. My Mom decided that it would be cute for us to make something for her. You know how a hand made present can mean much more to a person than when you just go to the store and buy something typical. It shows that you really thought about the person receiving the gift and what would be most beneficial to them. (at least that's my family's mindset :) But when my mom thinks "we" can make something, it usually means "me". So that is why one day I come home from work to find a pattern for an apron and a pile of fabric laying on my bed. A typical day in the life of Susan The Seamstress. Now, before I make my Mom sound bad, I DID know about the shower beforehand, and she DID cut it out, and Mom DID offer to help me, but my Stewart pride got in the way and I was determined to make this all by myself! Now back to the apron: The basic idea Mom had was to make an apron that the mother could wear whenever she was washing her baby yet keep herself dry. Mom found some gorgeous deep purple terry cloth and a coordinating flannel that we (I) could trace letters out of for the front to add a little extra something. It's amazing what you can find in the back of your closet! (shhhh! Don't tell!) So the first thing to do was to make the actual apron; then apply the letters. 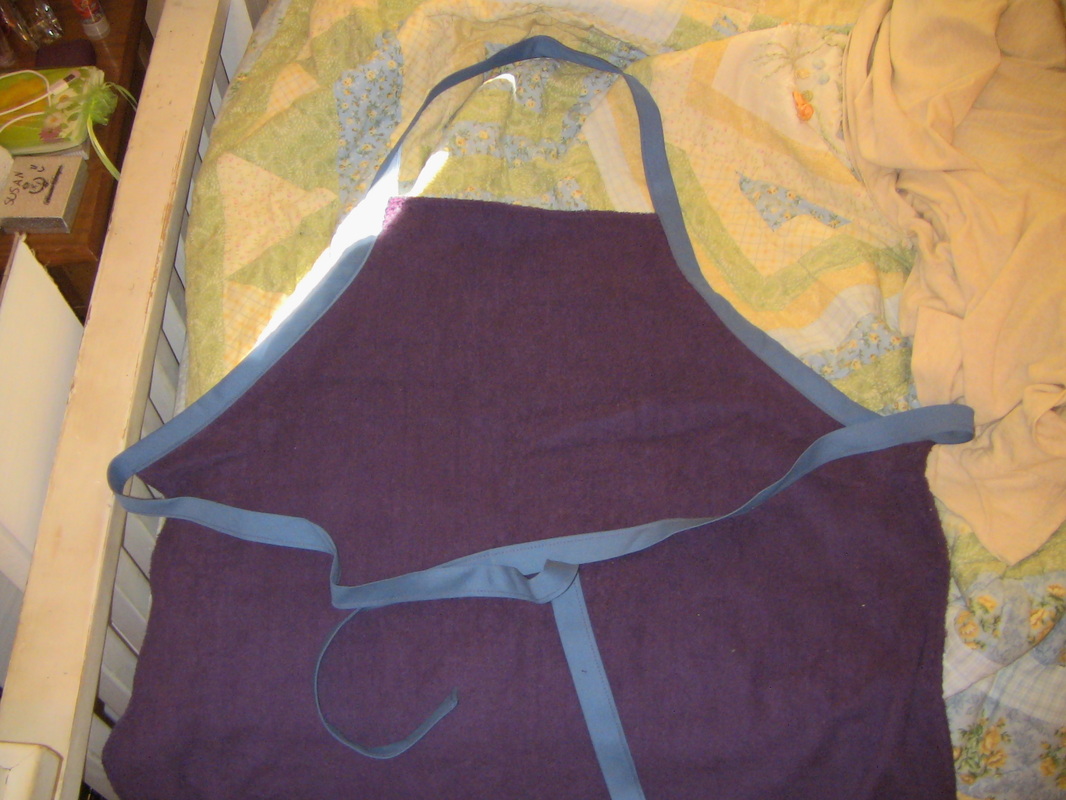
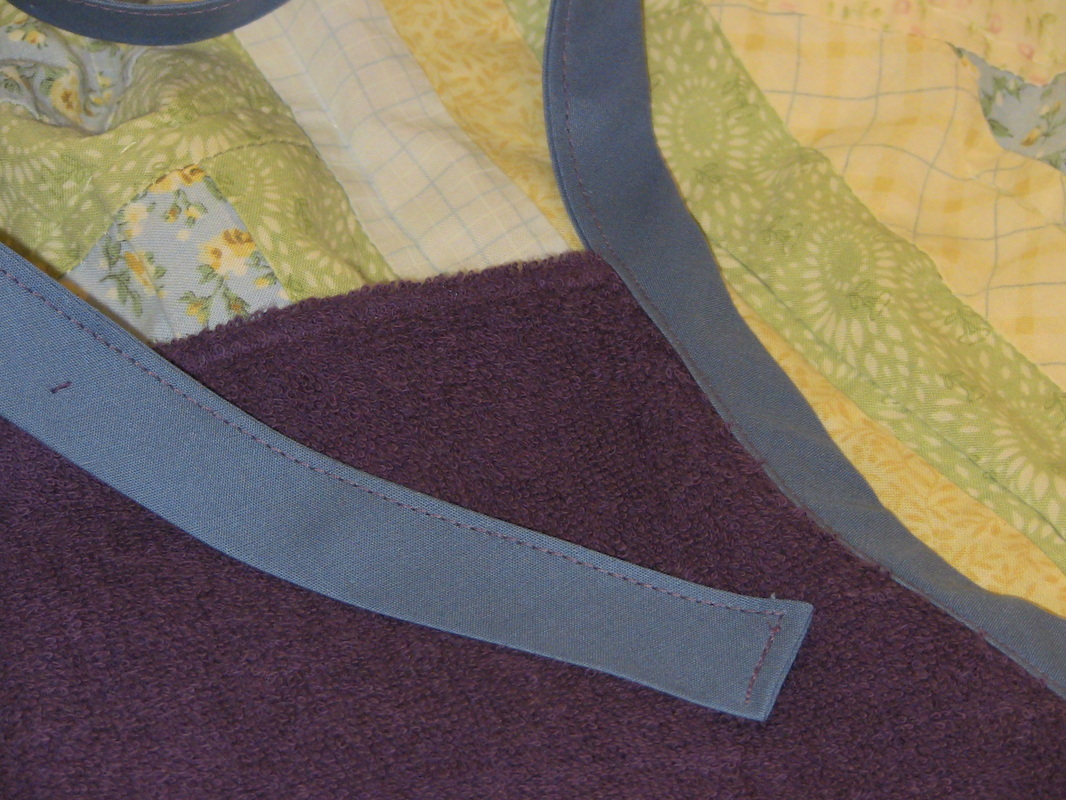
(please excuse the sloppy bed) We (I) used McCall's pattern 5551 view C, but instead of lining it, I just hemmed the raw edges and used bias tape for the neck strap and ties, omitting the pockets.
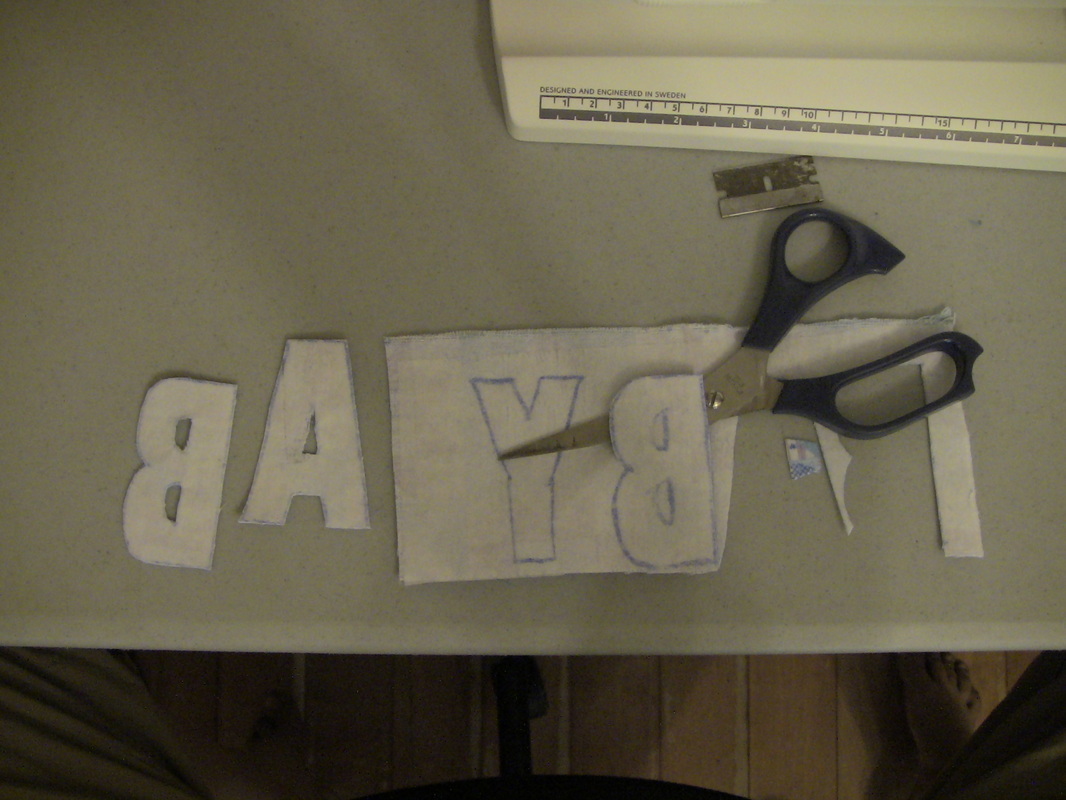
For the letters, I cut a strip of flannel big enough for the ones my Mom printed out, plus a *slightly* smaller strip of Wonder Under and fused the two together. After that, using transfer paper and a pen, I transferred the letters onto the paper side of the Wonder Under, (also the wrong side of the fabric) then I cut them out. I had to trace the letters out backwards so when I flipped it around so the right side of the fabric showed, the letters would be right too.
Next, I peeled the paper backing off the letters, centered them up on my apron, pressed into place... 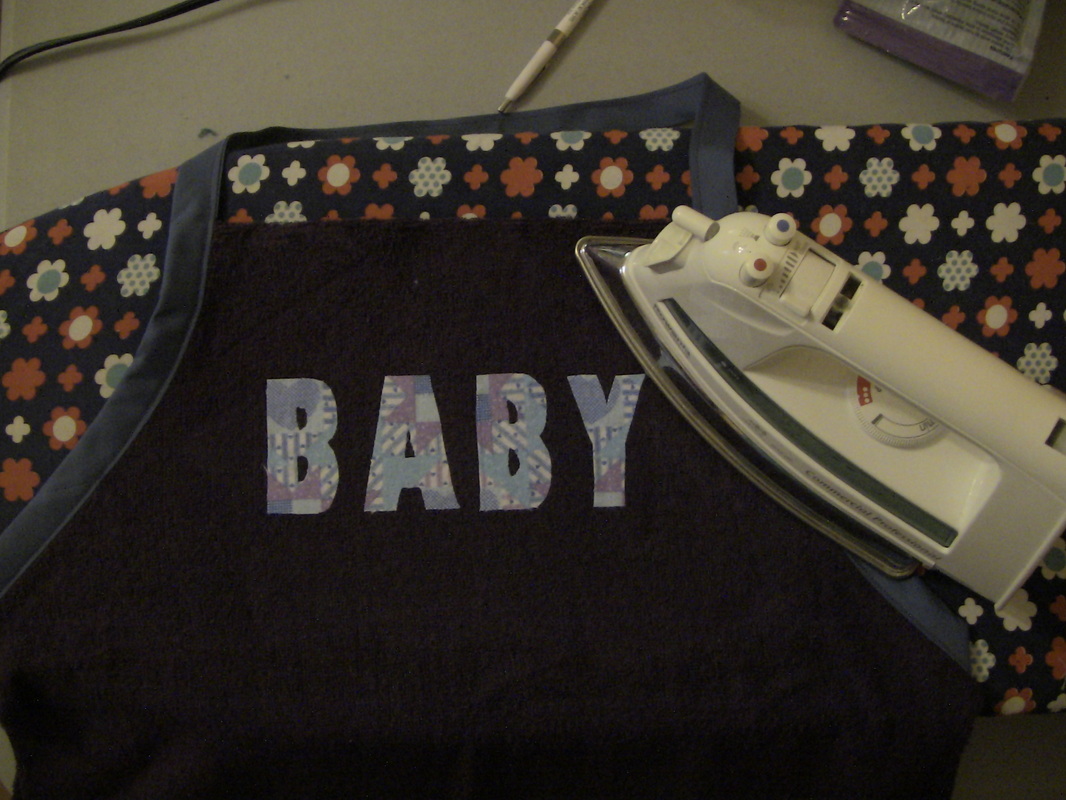
... and sewed a narrow zig-zag stitch around the edges. 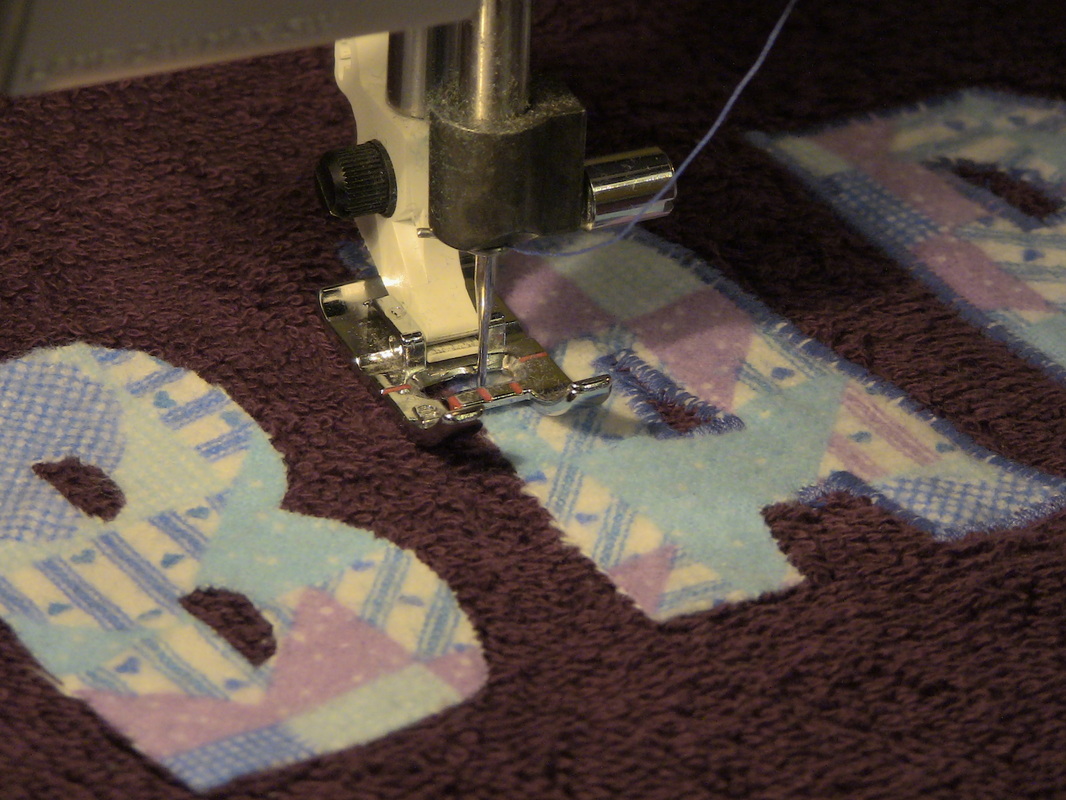
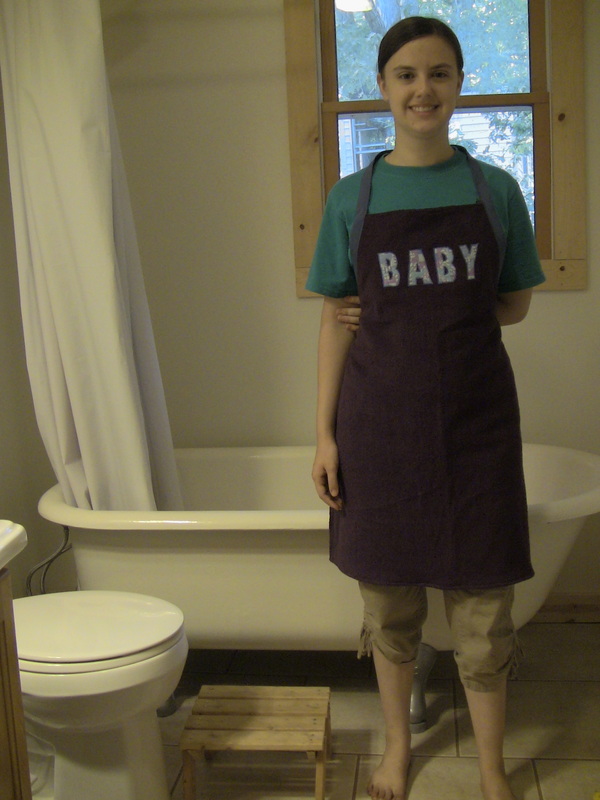
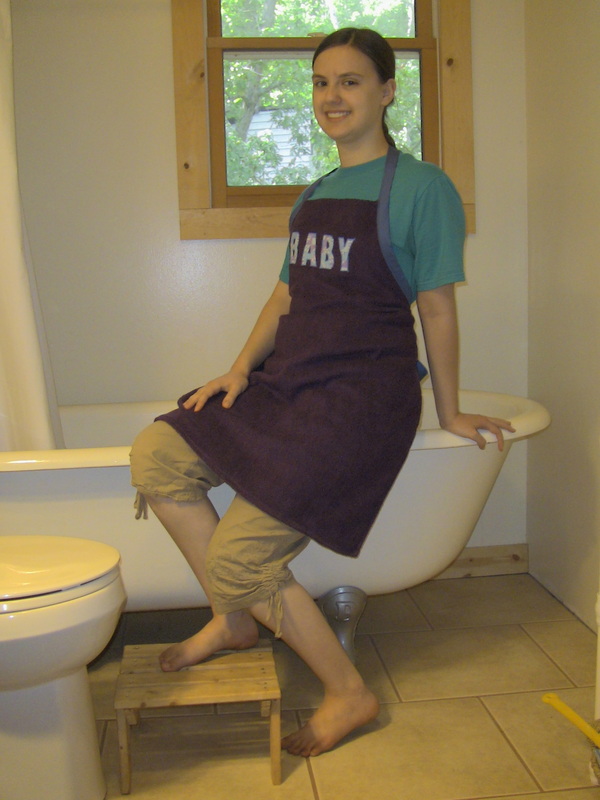
Here is the final result! A big high five goes out to my bro Christopher for taking pictures of the finished product. (It is quite difficult to take pictures of yourself when you're the model :)
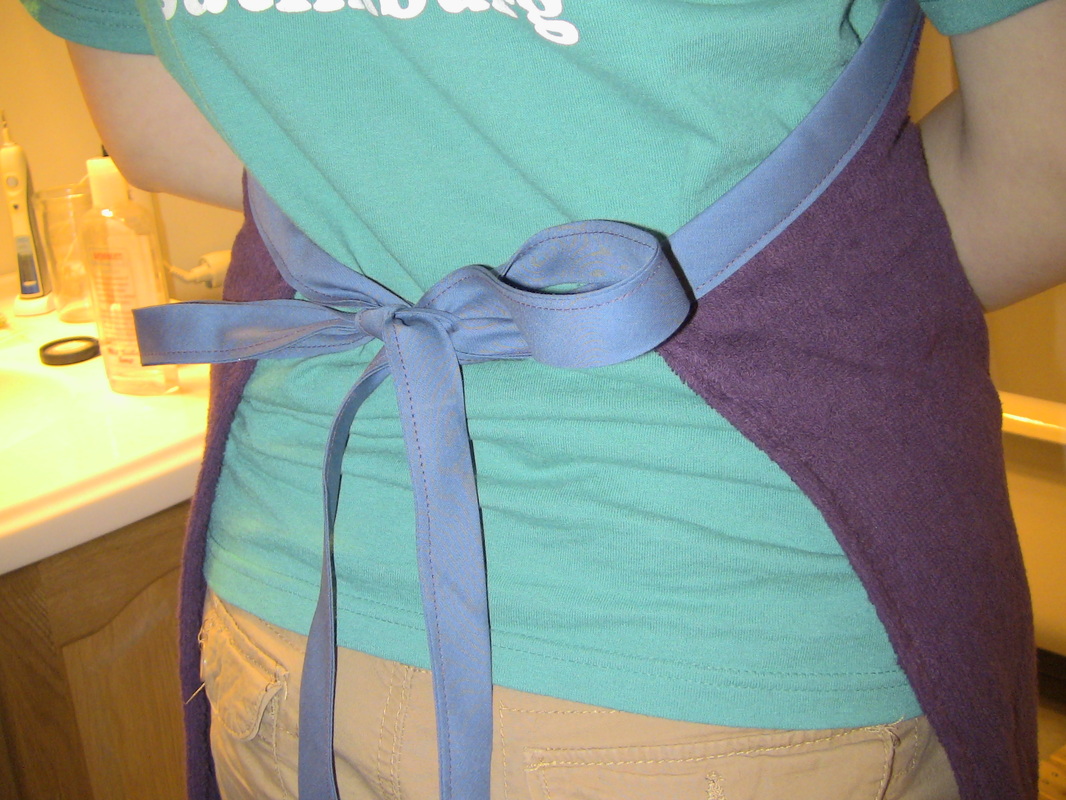
And there you have it! A terry cloth apron just right for giving a darling newborn a bath! I really hope the mother likes it and I can't wait to welcome this wonderful bundle of joy into this great big world!
For you fashioned my inmost being, you knit me together in my mother’s womb. I thank you because I am awesomely made, wonderfully; your works are wonders -- I know this very well. My bones were not hidden from you when I was being made in secret, intricately woven in the depths of the earth. Your eyes could see me as an embryo, but in your book all my days were already written; my days had been shaped before any of them existed. Psalms 139: 13-16 Complete Jewish Bible Love, Susan
0 Comments
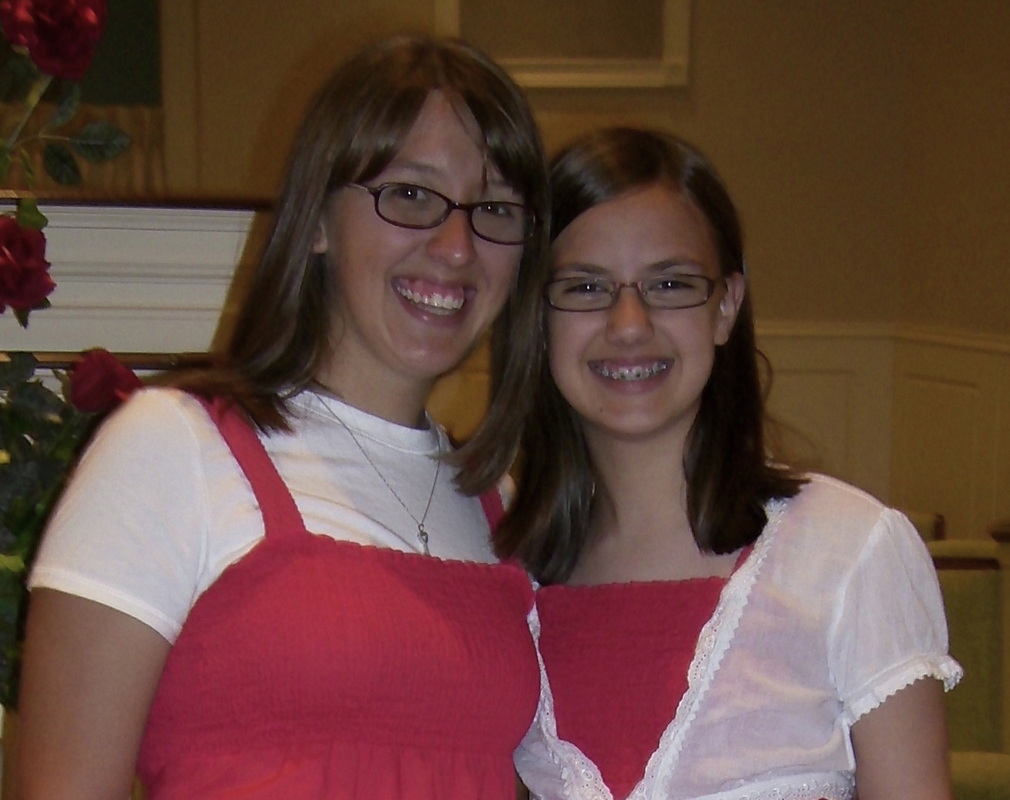
(Shelby and I 2009) A few months ago, I was sitting at the computer desk when I received a phone call from my newly engaged cousin Shelby. 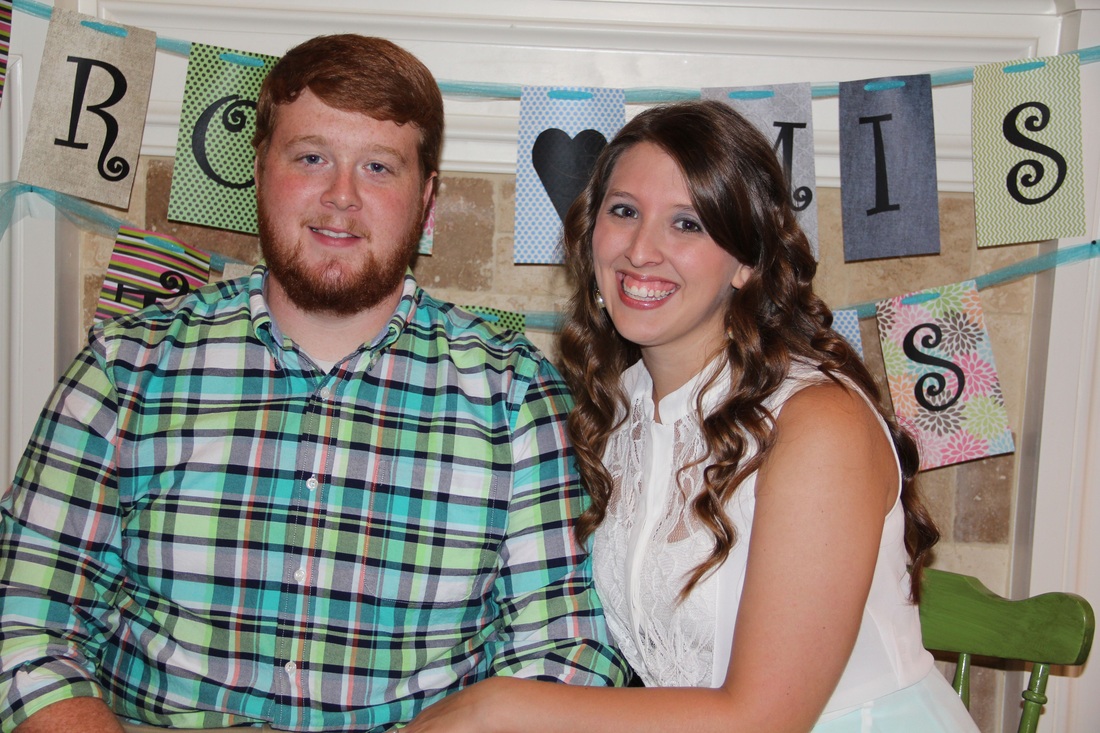
(Shelby and her fiance Joe, aren't they cute?) She said that she had been looking around for a veil when she came across a picture of the one Kate Moss wore for her second wedding. Needless to say, Shelby fell in love with that veil and told her mom, my aunt, that this was the one that she wanted to say her vows in. 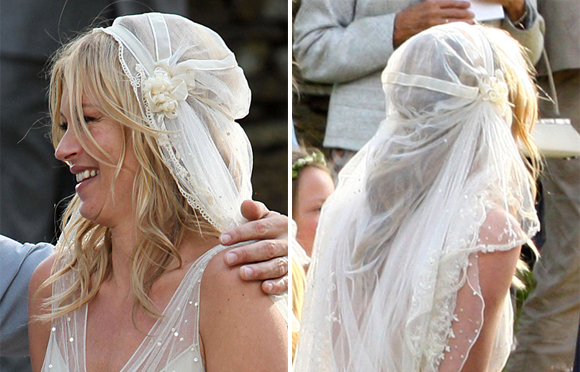
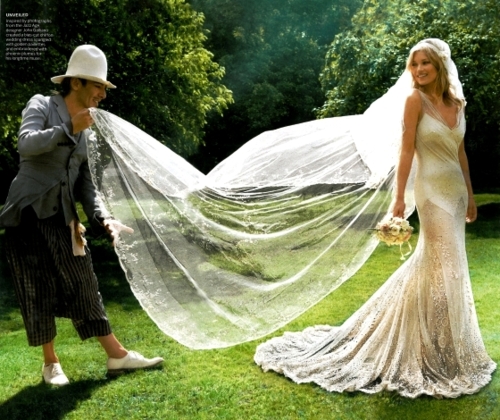
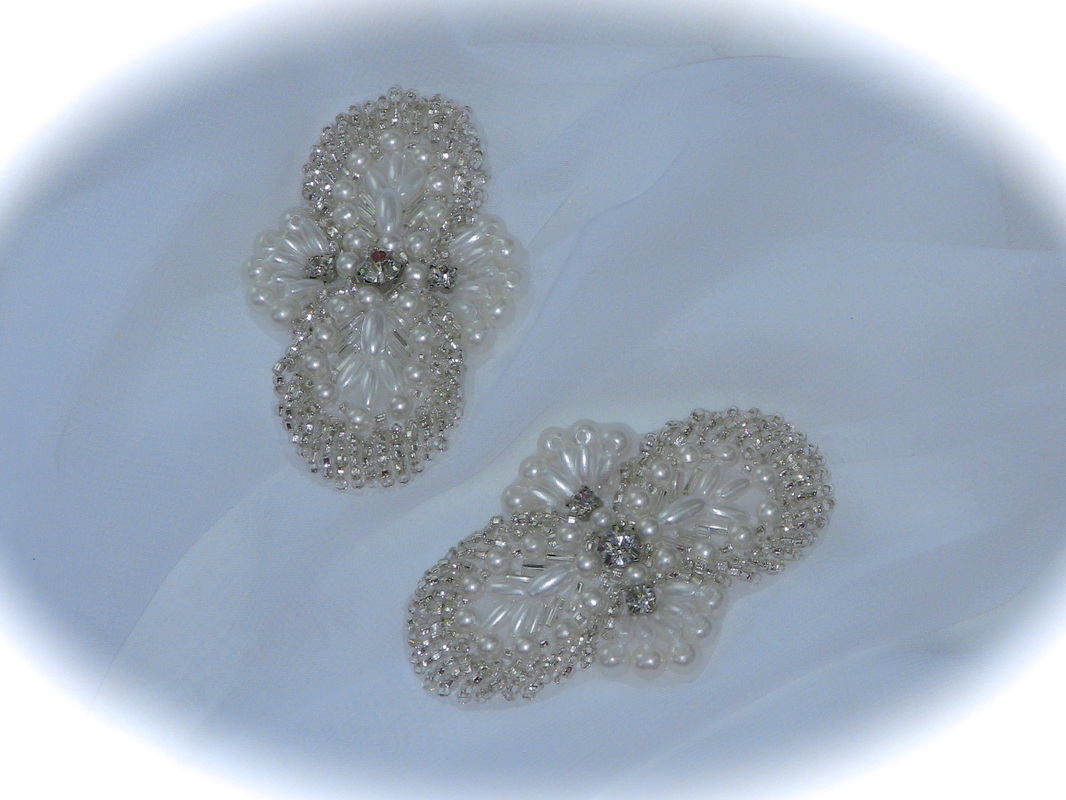
(Isn't it pretty?) But there was one small problem... Shelby couldn't find a veil that looked like this ANYWHERE that she could afford. So she called to see if I thought I could make her a veil to resemble Kate Moss's. She wants me to make her wedding veil. HER. WEDDING. VEIL. I almost cried right there on the phone. So, of course I said yes! I mean, how many chances do you get to sew a veil for someone, especially someone who is practically like your big sister? The first thing we did was order some supplies. Shelby when to her local fabric store and bought 4 yards of beautiful white chiffon. After that, she went online and started hunting for something to place above her ears to cover up all of the fabric that will need to be gathered there. (see picture above) Her search was finally rewarded and these lovely pearl and jeweled pieces from Etsy soon arrived at my front door. 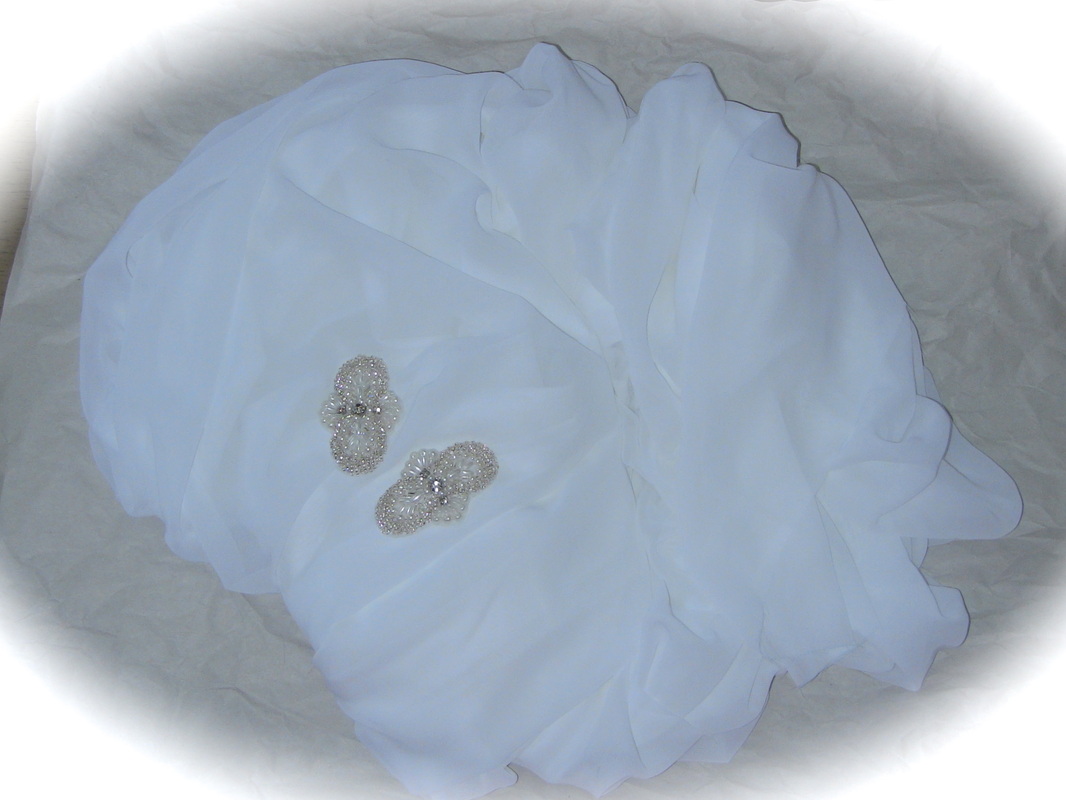
The second step was to figure out how in the world we were going to get that thing to stay on her head! I began to closely study pictures of Kate's veil to try and see how it attached. And I learned that, even on the great mac computer, you can only zoom in so far on a picture before it starts to pixelate. I became very frustrated, so I decided to pull out my secret weapon that never fails to help me sort out all my sewing dilemmas.... My mother. She thought that a long comb, or series of small combs, should be attached to the upper part of the veil that runs along the top of the head between the ears, and an alligator clip needed to be under each jeweled piece. My mom is AWESOME. So, we purchased a few alligator clips and this long clear comb that you see here for attaching the veil. The clips come from Hobby Lobby and the clear comb from Wal-mart. 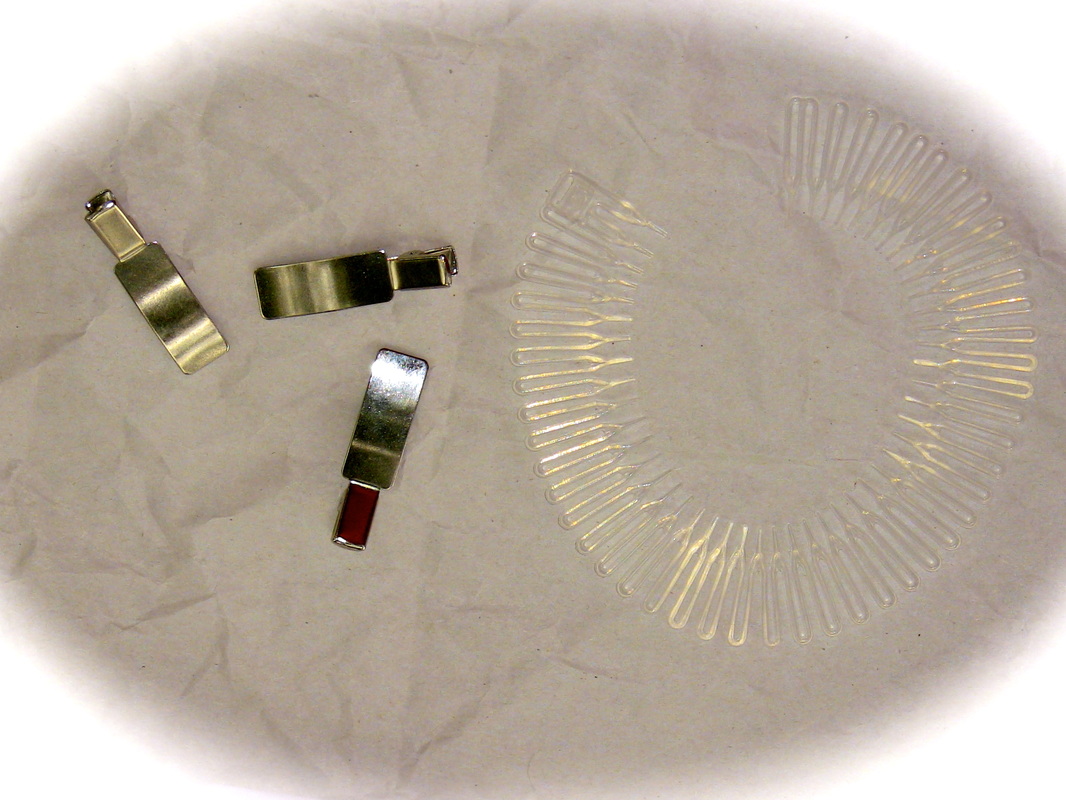
Thus, the amazing veil journey began! Shelby has kindly given me permission to document how I made this on my website so you all can know how I did it! (because I could find nothin' folks when I began researching. Nothin'. Zilch. Nada.) I hope that maybe this will help anyone out there (like me) looking for some pointers on making a veil like the one I'm making. If you have any suggestions or comments, please feel free to leave them it the comment box below. I could use all the help I can get!
Oh, one more thing. Everyone who reads this and all the post to come documenting the construction on this veil must SWEAR an oath never to tell Joe anything you see. Or I'm toast. Love, Susan 9/12/2013 0 Comments Vintage Heels Giveaway!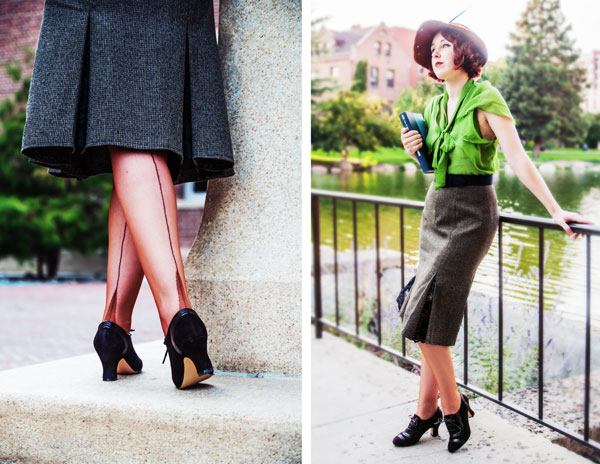 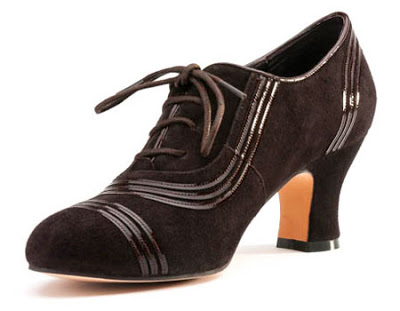 Hey Y'all!
American Duchess is a online shop started by a woman who (like me) is into historical costuming and, like many other historical costumers, could not find anywhere that sold period correct shoes. So, she decided to make her own! (she must have been home-schooled :) Right now, American Duchess is giving away one pair of the lovely 1930 "Claremont" oxfords you see above or a gift certificate of equal value. ($135.00) Head over to the American Duchess blog to enter in and hopefully win some fabulous new shoes! http://americanduchess.blogspot.com BUT HURRY! The winner will be announced on her blog on MONDAY SEPTEMBER 16th! Good luck! Love, Susan Hi Y'all!
Welcome to the blog portion of my website! Here you'll find some of my latest projects, tips and tricks I've learned, and a little bit of my personal life here and there. My prayer is that everything I do and post on my website will be pleasing and glorifying to my Heavenly Father who made me. As He is the one who created me and taught me to create, Everything my hands produce ultimately belongs to Him, my master teacher, ADONAI. I look forward to learning more from Him and getting to know you all! Thanks for stopping by! Love, Susan |
CategoriesAll Alterations Book Reviews Books Conversations With God Costumes Doctor Who? Family For The Sake Of All Things Random Friends Fun Gifts Giveaway Guest Post Holidays It's A GOD Thing Lesson Learned Literal Movie Making Non Sewing Related Projects Q&A Sewing Special Requests Theater Tutorial Wedding Yep That's Me AuthorHey Y'all! Archives
October 2019
Book Review
|
 RSS Feed
