|
Finally, after weeks of procrastinating, I got off my lazy bum and started working on my cousin's veil. It's not that I didn't want to do it, it's just that in order to round off the edges for the front and back/train I basically needed the whole dining room floor for a cutting table. (or cutting floor :) When your family is a homeschooling family like mine, that needs the dinner table for school work, it can be quite difficult to access. So when I finally got my hands on it, the first thing Mom and I did was round off the edges that would be next to the bride's face. That way there will be no hard, sharp, pointy edges (very unattractive). We did this using a french curve. (sorry forgot to get a picture :( ) Next came probably the hardest part: shaping the train. (dum dum dum!) To be honest, I had NO CLUE as to how to do this! So I turned to my second secret weapon that never fails to help sort out all my sewing dilemmas.... The internet. This is where I found out how to do what I was wanting to do. I love you. Start off by measuring the width of you fabric and dividing that number in half. My fabric was 57 and 3/4 inches so half was 28 and 1/4 inches. Wrap a long piece of string around a fabric safe disappearing marker and measure whatever half of your fabric was then cut the string. It MUST be a DISAPPEARING FABRIC SAFE marker because you will not be washing this fabric! 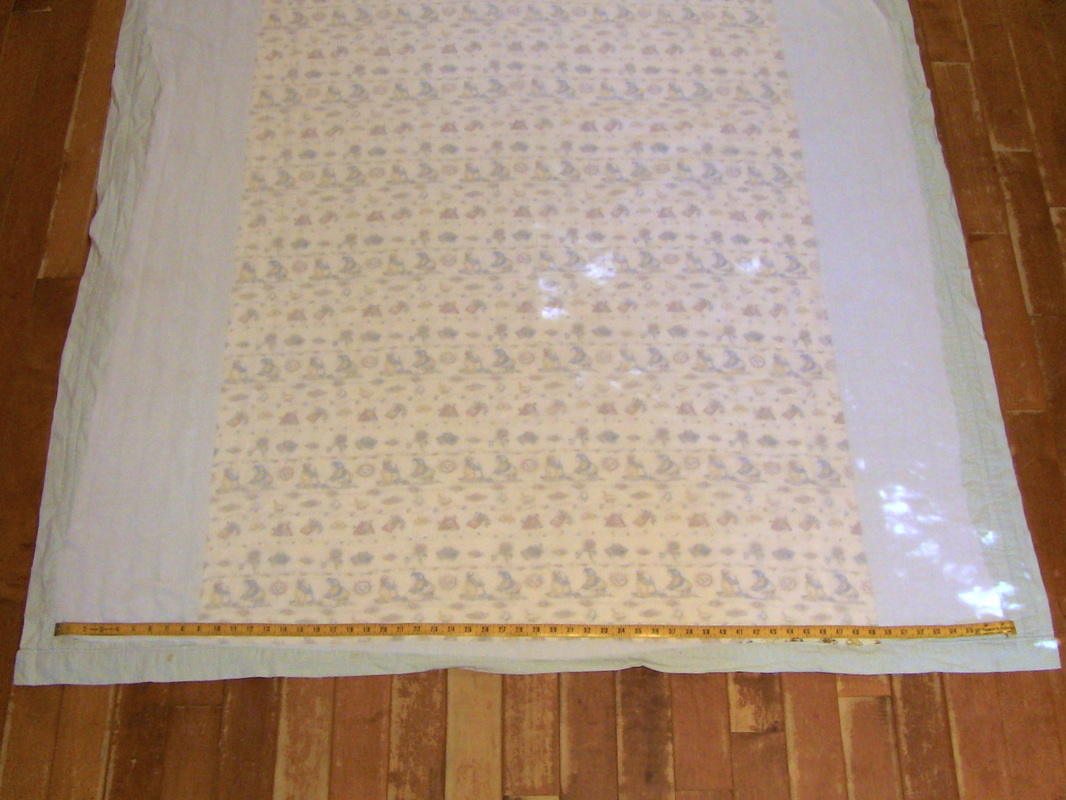 (The fabric layed out on a flannal quilt to help keep it in place while we worked) 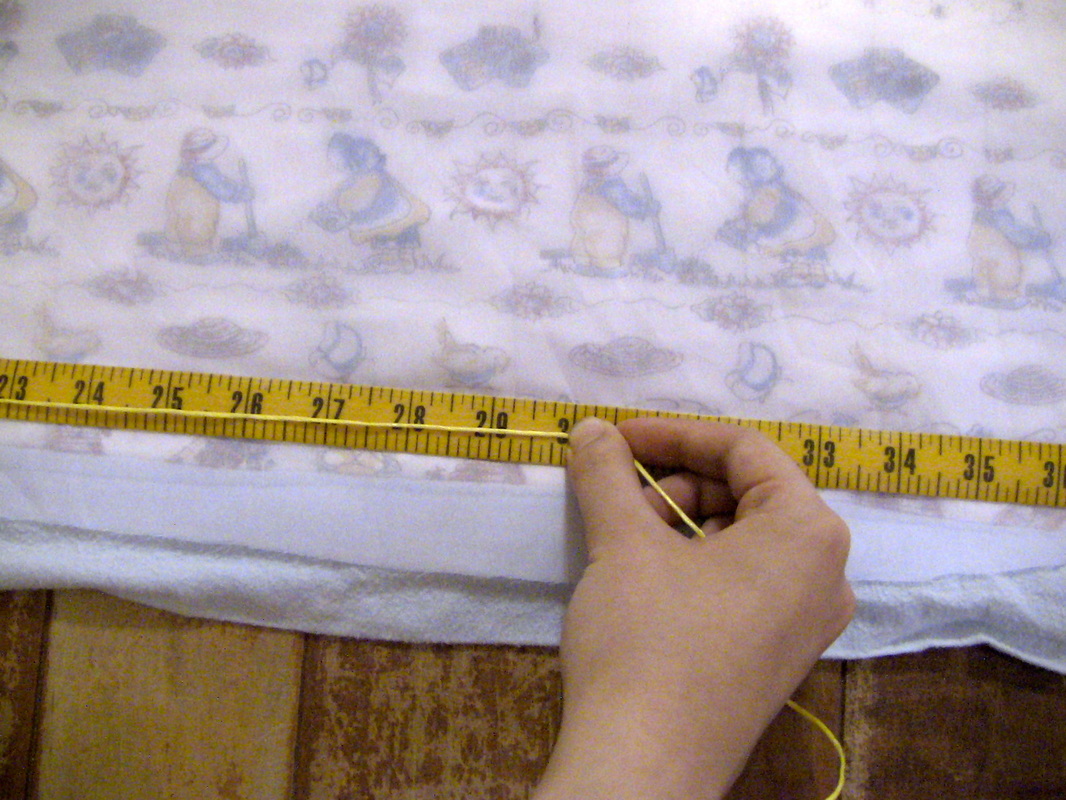 Fold your fabric in half long ways making sure the edges match up perfectly. Check every so often while you work to see if the fabric has moved (because trust me IT WILLL!!!!) and correct if need be. Hold the pen at the center edge (where the fold of your fabric is) and then have someone pull the string towards the center of your fabric to form a 90 degree angle with the bottom edge of the fabric. The string needs to be taunt. Move the pen around in an arc to mark the cutting line. Cut. 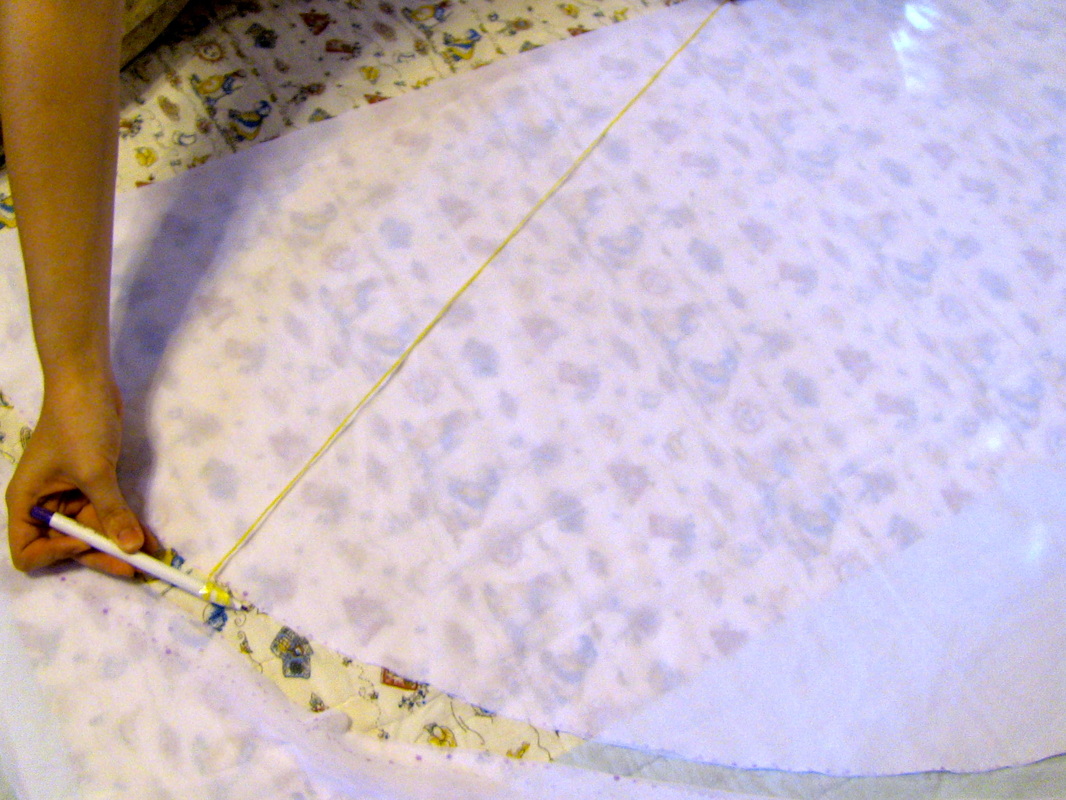 When you open your fabric it should look something like this. 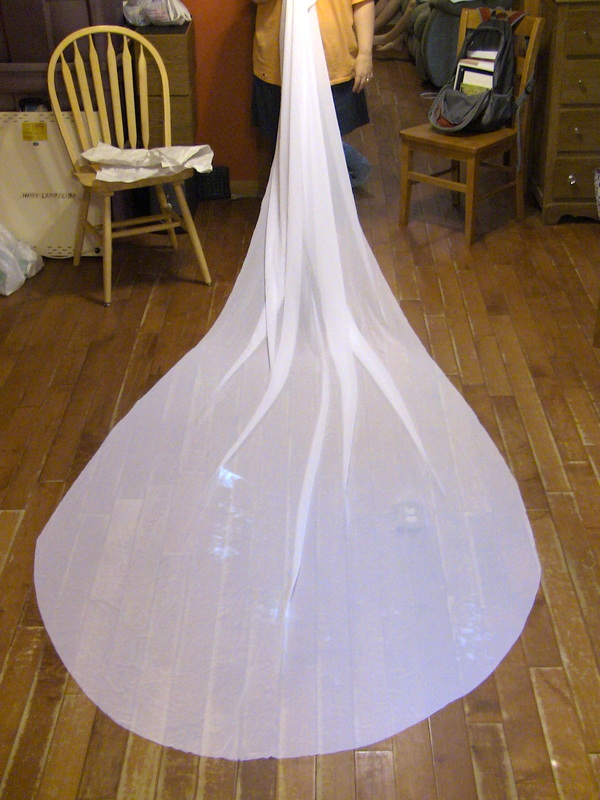 Just imagine that trailing down a church aisle! *dreamy sigh* Now that the veil was cut out, I could move on to hemming! Shelby wanted what is called a shell hem around the outside of her veil. You can achieve this by ether hand or machine sewing. If you want to do this by machine, (which is what I did) you will need a rolled hemmer foot (mine is 3 mm) that looks like this: 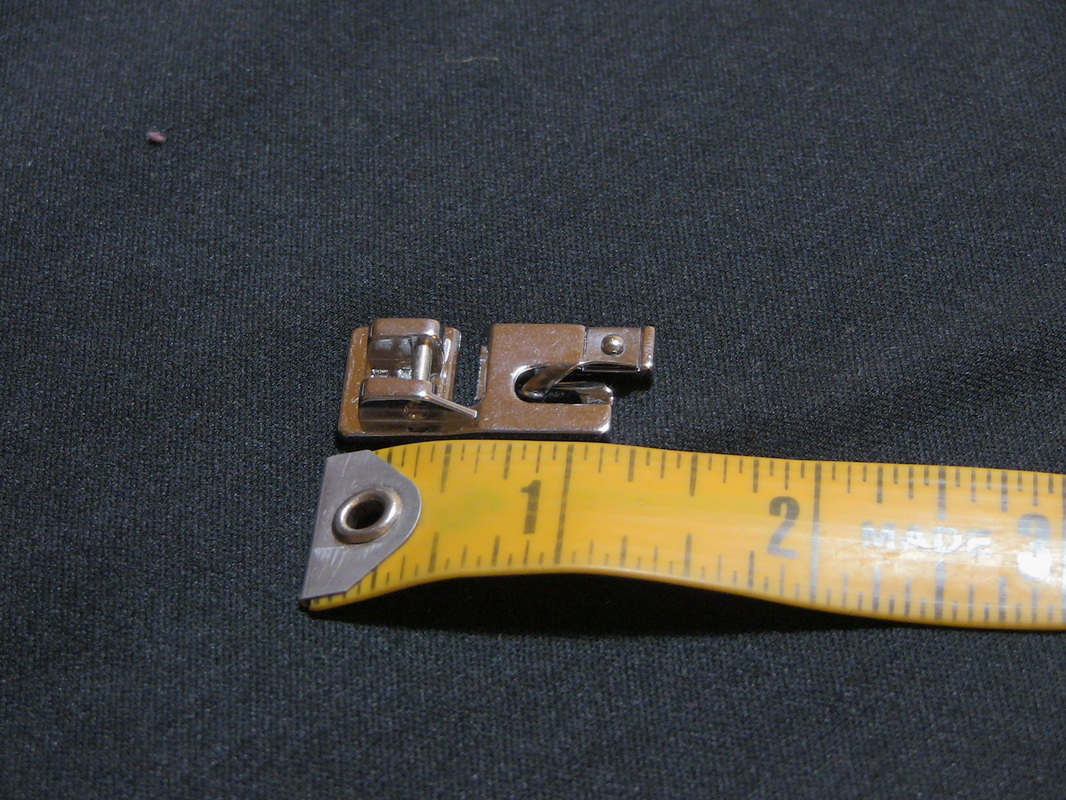 Of course the way the foot looks like will vary depending on what kind a machine you have. I have a Huskvarna Sapphire Quilt 875 and I got my foot from My Sewing Machine Parts for about $25. Attach the hemmer foot to your machine and thread your machine with some fine thread used for light weight fabrics like chiffon to match your fabric. (I used Coats & Clark Dual Duty) Set your machine to do a shell edge stitch. (#18 on my machine) If you notice in the picture above there is a tiny strip of metal in the center of the foot. Your fabric will wrap around this piece of metal causing the fabric to fold over creating a hem. So this is what it looks like as you're sewing. 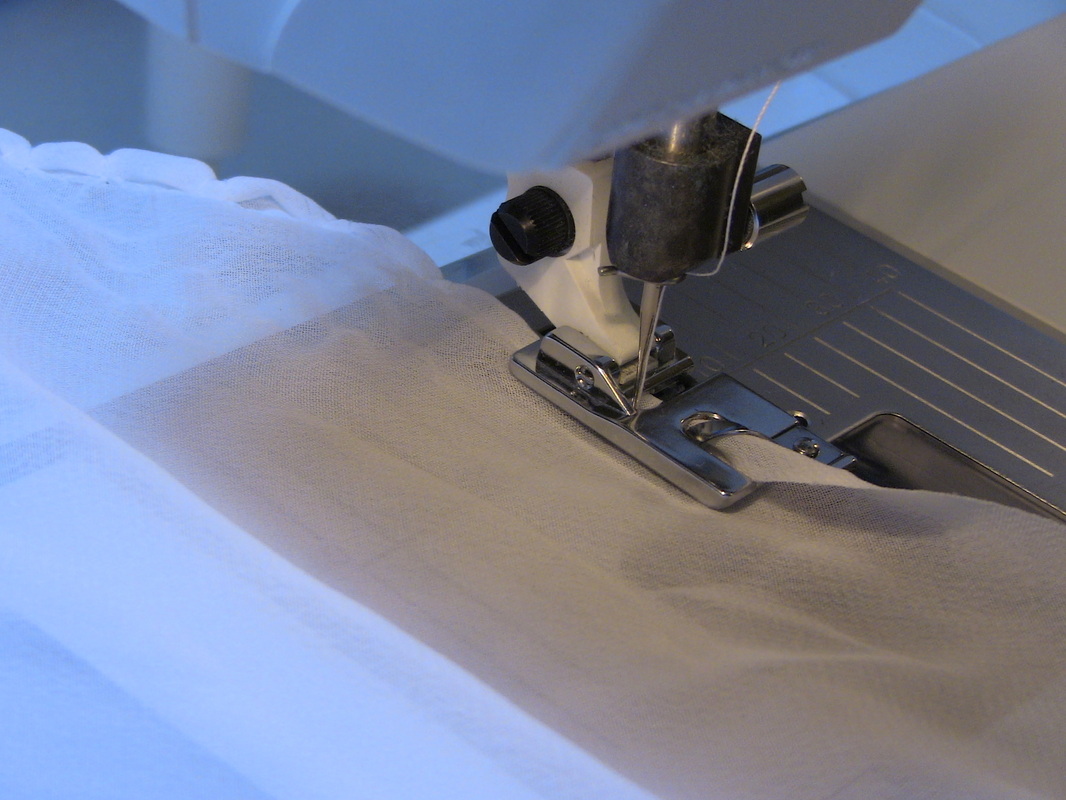 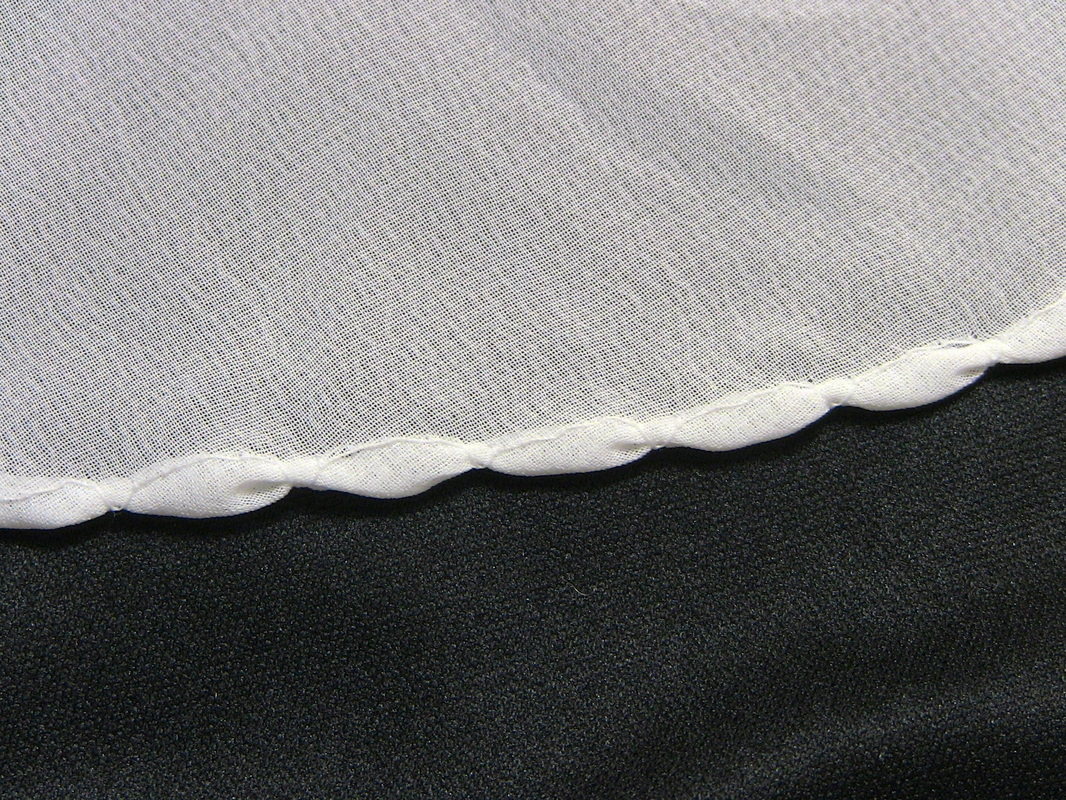 (the finished look) One phone conversation with Shelby and 3 1/2 yards of chiffon later...(which is really 7 yards of hemming!)
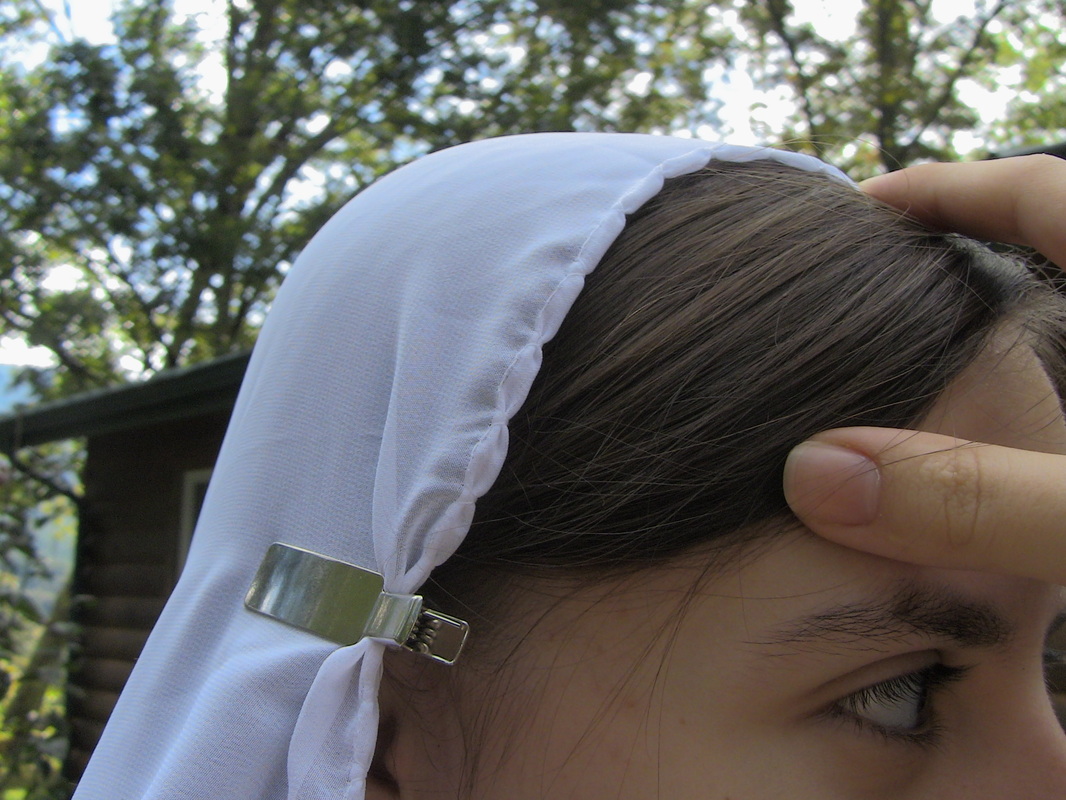
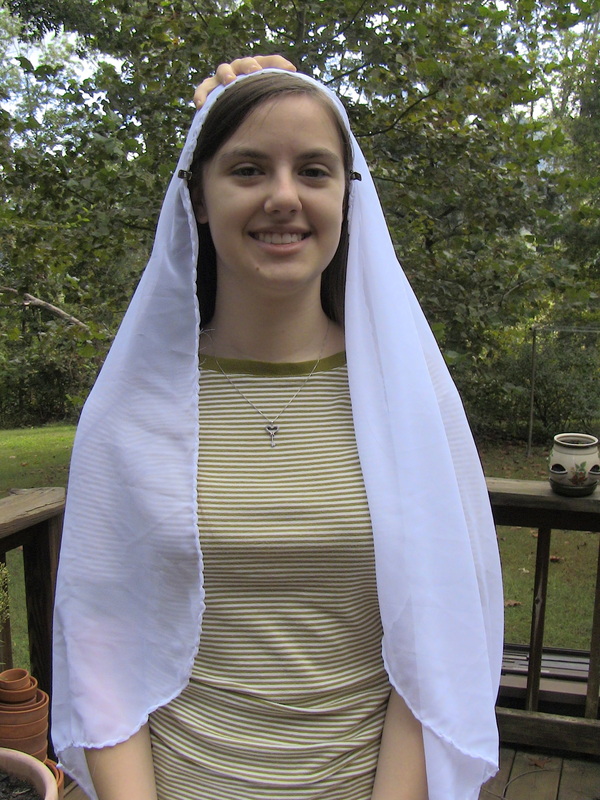
... the veil is completely hemmed!!!! Of course, this isn't exactly how it will be placed on her head, but you get the point for now. (And yes, I am well aware of the fact that there is a hand on top of my head. Please ignore it. That is just my brother being helpful. Just imagine it is a halo or crown or something.)
I CAN'T WAIT to see how this turns out!!! Shelby is going to be one BEA-U-TI-FUL bride(even with no veil!) and I can't wait to see it on her! Love, Susan
5 Comments
Mom
10/7/2013 02:34:52 am
You are doing an amazing job on this, sweetie! Shelby is going to look beautiful.
Shelby Cupstid
10/7/2013 02:45:24 am
Oh Susan, it is turning out just as I imagined! I can't wait to see the finished veil!
Susan
10/7/2013 11:46:34 pm
Thanks Ms. Donna! I get that I look like Shelby a lot, but she's a great person to be identified with so I take comments like those as an honor!
Rie
10/8/2013 02:16:18 am
Shelby told me there were pics online. She is so excited and it is looking beautiful. It may be your something borrowed one day! (wouldn't that be a little ironic) Leave a Reply. |
CategoriesAll Alterations Book Reviews Books Conversations With God Costumes Doctor Who? Family For The Sake Of All Things Random Friends Fun Gifts Giveaway Guest Post Holidays It's A GOD Thing Lesson Learned Literal Movie Making Non Sewing Related Projects Q&A Sewing Special Requests Theater Tutorial Wedding Yep That's Me AuthorHey Y'all! Archives
October 2019
Book Review
|
 RSS Feed
